You can find the finished site on the theme's demo website: https://kyiv.magicpages.co/
Getting Started: Fresh Installation
My assumption for this tutorial is that we are starting with a fresh installation of Ghost through Magic Pages. This would typically present as a clean slate, with no pre-existing data or settings. As a Magic Pages customer, you can set up a fresh version of Ghost straight from our customer portal with one click.
Before shooting the video and writing this tutorial, I have created a sample page on my local machine. So, when I refer to a "localhost" during the setup, know that it's my development environment.
Why Choose the Kyiv Theme?
The Kyiv theme isn't just powerful; it's also deeply customisable. Every element you see on the template can be tweaked to your preferences, allowing for a truly unique website tailored to your needs. My goal is to ensure you understand the variety of options at your disposal and can make the most out of this theme.
Generally speaking, the theme itself has been created for service providers (think coaches, freelancers, etc.). It is not focussed on publications, like other Ghost themes and focusses more on telling a coherent story to sell your services or products.
Beginning the Setup Process
Starting with a fresh Ghost installation, the first step involves setting things up:
- Accessing the Admin Area: Navigate to your site's URL and append "/ghost" at the end (e.g., www.yoursite.com/ghost). This route leads you to the admin area of your Ghost website, where you'll manage settings, posts, pages, email lists, and more.
- Initial Setup: On accessing the "/ghost" route for the first time, a welcome screen will greet you. Here, you will input the basic details required to set up your site. In my example, I created a fictional character named Olena Hordiyenko, to set up the theme. This is purely for demonstration, and you should use your data, of course.
- Admin Overview: Once your data is filled in and you create your account, you'll land on the Ghost admin page. Here, you'll find options to write your first post, customise your site's design, import members, and explore other Ghost admin features.
Installing the Kyiv Theme
To achieve the look and feel of the Kyiv theme sample follow the steps below:
- Navigate to the theme installation section in the Ghost admin: Settings -> Design & Branding.
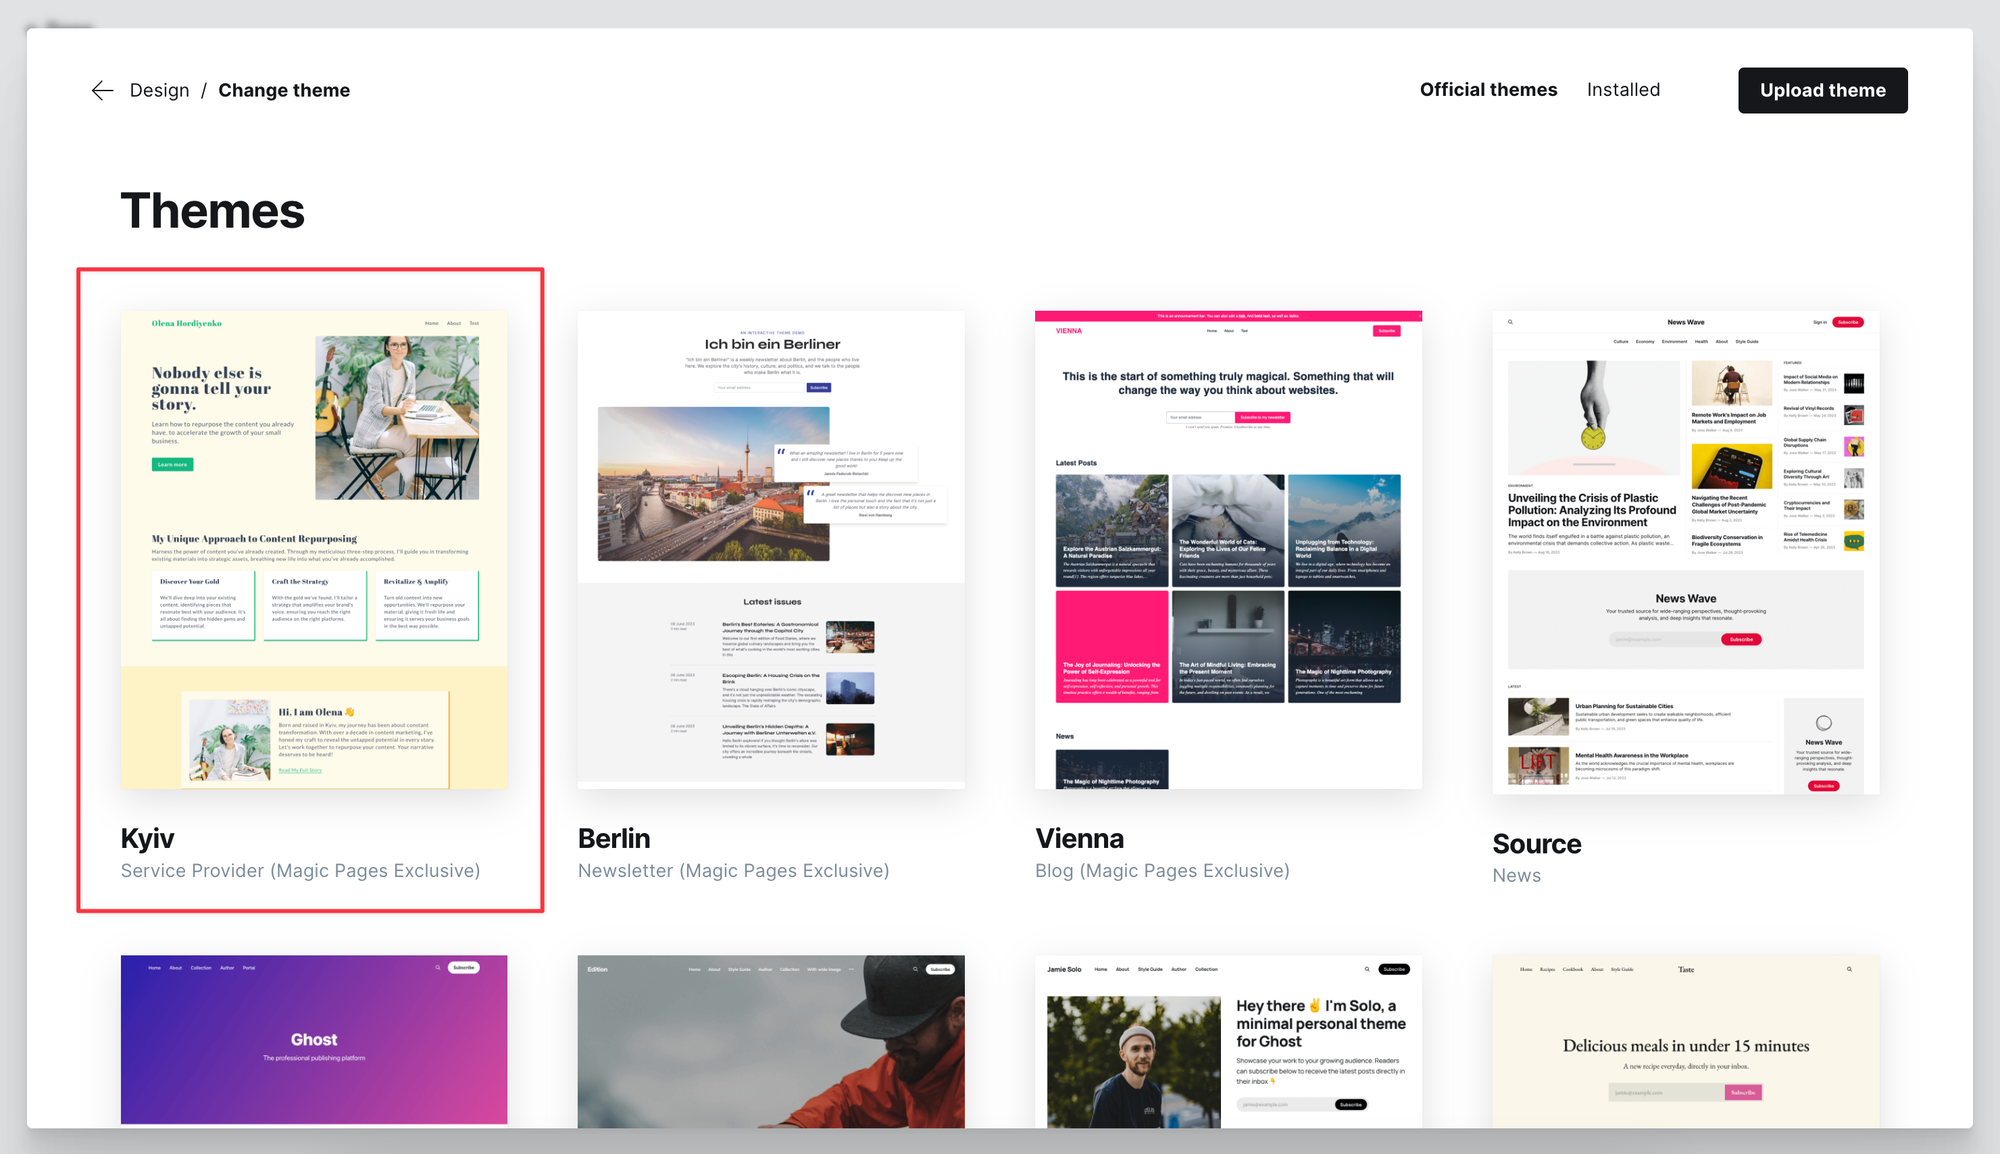
- Click on "Change theme" in the bottom right corner. You will now see a gallery of themes. As a Magic Pages customer, you will also see all exclusive themes available to you, alongside the official Ghost themes.
- Choose the Kyiv theme and install it.
Next, you want to go to Settings and look for "Labs". Click on "Beta Features" and upload the following file under "Routes". This will tell Ghost how we want it to set up the blog route for the Kyiv theme.
Updating the theme
To update the theme when a new version is released, follow these steps:
- Navigate to Settings – > Themes
- Click on "Change theme" in the bottom right corner
- Select the Kyiv theme and click "Update"
- Follow the prompts to complete the update process
Now, head over to the next post in this series: Kyiv Theme: #2 Hero & CTA Sections